Setting up your first AWS Account
IN this quick-start guide I will walk you through the process of setting up your first AWS account. This account will form the foundation of your new AWS Organisation (which we’ll get into in a future article) which in turn will house all your AWS workloads. As I walk through the process of setting up the account I will outline a few tips and tricks on things you can configure to make your AWS journey a little easier.
Step 1:
head over to the AWS sign-up web-page at https://portal.aws.amazon.com/billing/signup#/start By entering it into your browser or by following the below instructions. Head to https://aws.amazon.com and click on the “Create an AWS Account” button as shown below.
If instead of seeing a “Create an AWS Account” button you see a “Sign in to the console” this is simply AWS detecting that somebody has logged into AWS before. To get to the “Create an AWS Account” Page simply click the “Sign in to the console” button. This will present you with a login screen. First, If it’s trying to get you to sign in with an IAM user as shown below:
Click the “Sign in using root user email” link at the bottom of the form.
You should now be presented with a login form that has a “Create a new AWS Account” button at the bottom of the form. Click this button to continue along with the quick start.
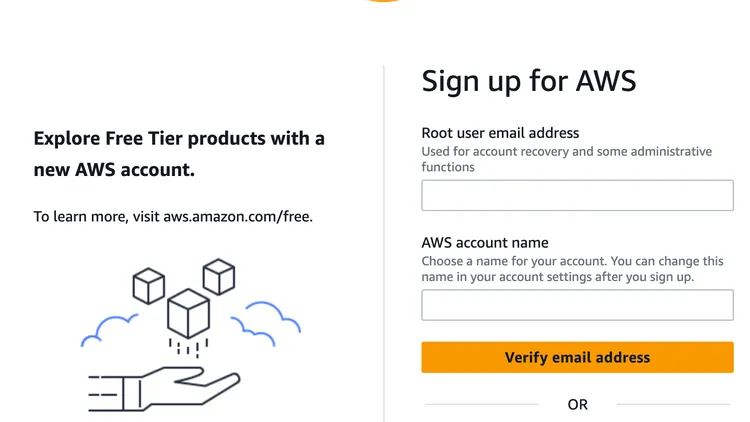
Step 2:
On the first page of the sign up form you need to provide an email address, a password and an AWS Account Name. It’s important to understand how these will be used throughout your AWS journey so you can set them up right from the beginning.
Email Address: As we are setting up our first AWS account, this account will be the email address associated with our Management Account (the root of our AWS organisation) and as such will be critically important and will need to be around for a very long time. As a result I typically like to make this a shared email address that multiple people in my organisation can access. This ensures that if the person who originally set up the account leaves, others will still be able to receive communications from AWS. AWS will also use this email address to communicate with you from time to time so it’s important that the email address is monitored.
Password: This will be the password associated with the root user of our new AWS Account. Without getting into too much detail, the Root user is all powerful and can do just about anything within our AWS account. As a result of this it’s very important that we keep this account as secure as a password which means it needs a good strong password. When setting up new AWS accounts I like to set my root users with 63 characters of printable ASCII generated by a password generator (if you don’t have one as a part of your password manager you can always use the one at grc.com available at https://www.grc.com/passwords.htm). You might think 63 characters is a little over the top, but the fact is you won’t be using this account very often so it’s not going to be too much of an inconvenience.
Account Name: The account name is properly the least important of the three fields on this form and is simply the name by which this account will be referenced within the AWS Management Console and AWS Organisation once configured. When creating a new AWS Account just put my organisation’s name in this field.
Once you’ve entered all that information you can go ahead and click “Continue” to move to the next page.
Step 3:
On the next page we need to provide some information about ourselves or the organisation that we represent.
For the first question “How do you plan to use AWS” your options are either “Business” or “Personal”. If this account is purely for the purposes of learning and/or experimenting to enhance your skills you should select Personal. If you are deploying the new account for an organisation, go ahead and select Business.
Next go ahead and complete the form by entering the contact details for either yourself or your organisation (depending on the choice you made above).
Once you’ve entered all your contact information, you can again click “Continue” to move to the next page.
Step 4:
This next page is all about providing the credit card information that will be used to pay for this account. Simply go ahead and enter your credit card information and click “Verify and Continue” once you’re done. By being mindful of the credit card that you use especially if using it for a business account.
You want to make sure that you have adequate processes in place to change over the credit card information if the employee associated with the card leaves the organisation or if the costs start to exceed their limit. This can also be alleviated by moving your account to Invoiced based billing which i’ll be covering in a future blog article.
Step 5:
Once you’ve verified your payment details, the next step is to verify your contact information. On this page you need to provide a phone number that AWS can reach you on and provide verification by paying back the provided pin number either via a phone call or via text message.
Simply provide a phone number, select your preferred method of communication and click either “Send SMS” or “Call me Now” (I typically just use SMS verification as it’s quick and easy). Enter the provided pin number and enter the four digit pin in the field on the next page. Click confirm once finished to move to the last part of the sign-up process.
Step 6:
On the final page you need to select the support plan you first to be on. For most first timers I suggest they start with just the “Basic Support” plan at $0 a month. “Business Support” can be quite helpful for organisations starting the leverage AWS for business critical workload. It provides you with complete access to Trusted Advisor checks as well as providing greater access to AWS support.
The downside to “Business Support” is that it starts at 10% of your monthly AWS usage (up to $10,000 USD a month) so can be a significant cost. If your AWS spend is approaching $100,000 USD a month or you are looking to perform a whole of business transformation leveraging AWS the “Enterprise Support” is a good choice, but starts at $15,000 USD a month. I will be writing a full comparison guide on AWS Support plans in a future article.